Cursor Effects
Tutorial AI replaces the original mouse cursor from your recording with a redrawn version that’s smoother, more visible, and fully customizable. Click the Cursor button in the Video Toolbar to access all cursor features.

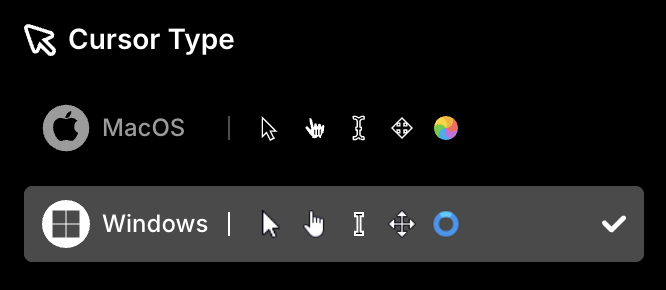
Mac or Windows cursors
Section titled “Mac or Windows cursors”Choose whether your video displays Windows or macOS cursors. If you’re recording on Mac but your audience primarily uses Windows, switch to Windows cursors for a more familiar experience.
Cursor size
Section titled “Cursor size”Make the cursor more prominent so viewers can easily follow your movements. Use the Cursor Size slider to increase or decrease the size.

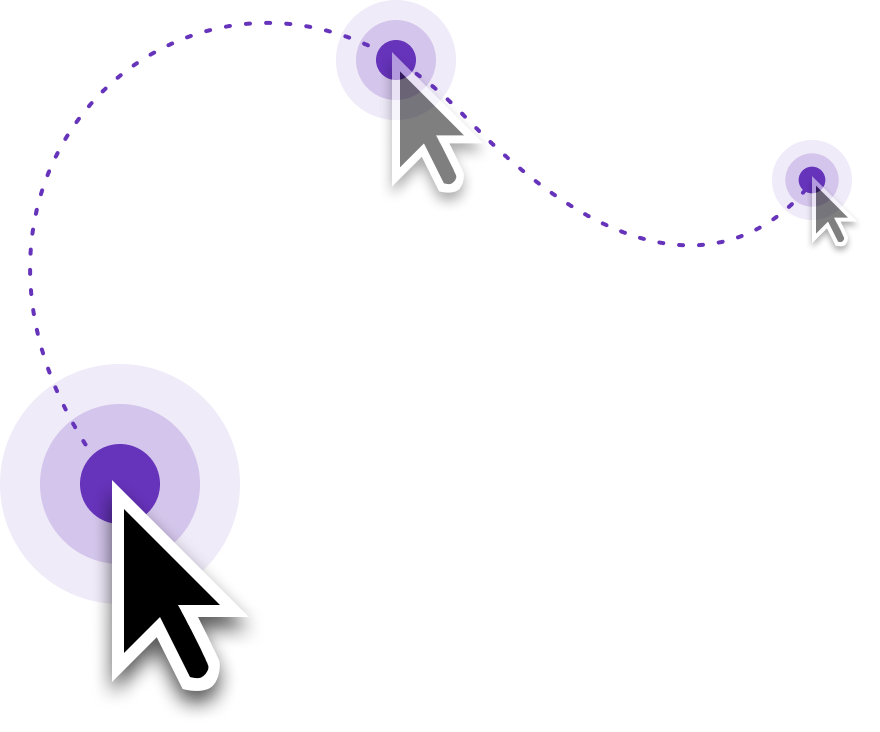
Mouse smoothing
Section titled “Mouse smoothing”Eliminate abrupt movements and “hesitations” in your mouse path. The Mouse Smoothing slider controls how much the cursor path is smoothed — creating more fluid, professional-looking motion.
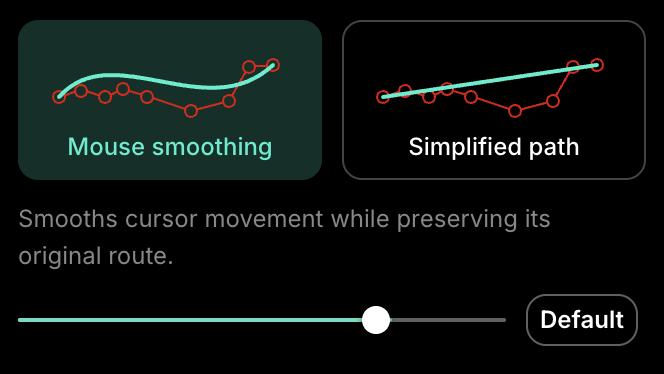

Path smoothing between clicks
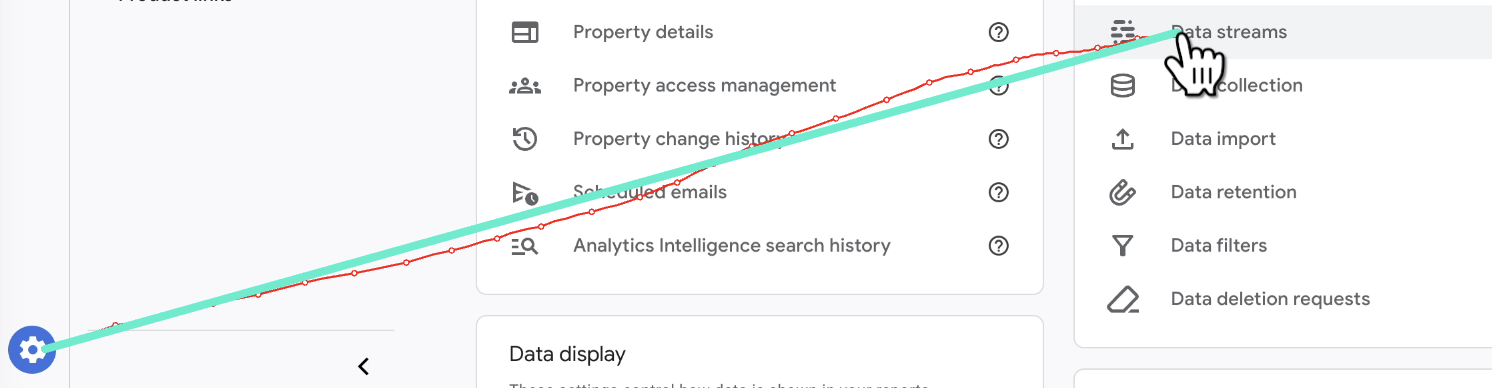
Simplified path
Section titled “Simplified path”For tutorials that benefit from cleaner mouse movement, enable Simplified Path. The cursor moves in straight lines between clicks, minimizing distractions.
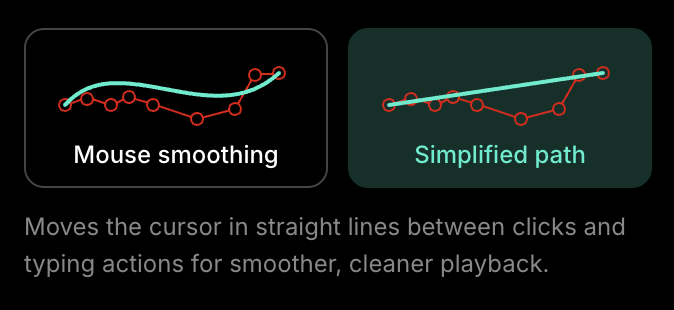
Path simplification between clicks
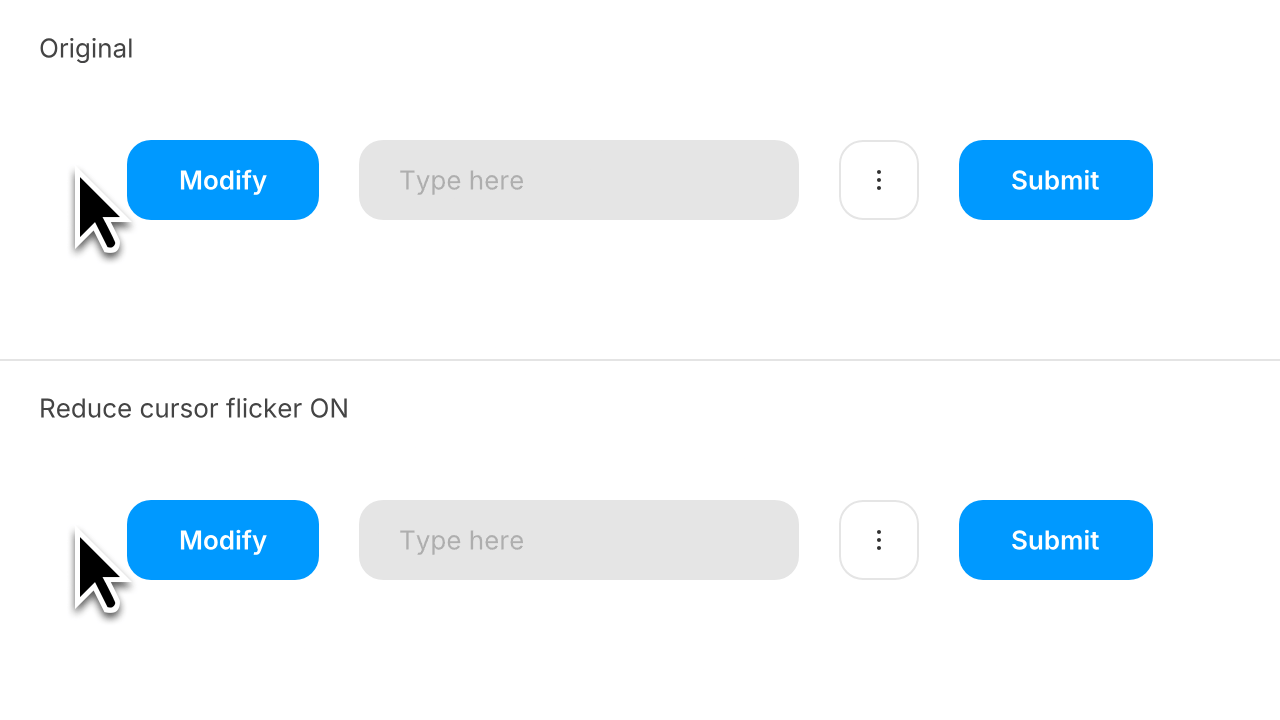
Reduce cursor flicker
Section titled “Reduce cursor flicker”When you move the mouse quickly across buttons, menus, or UI elements, the cursor often shifts shape — pointer to text selector to resize icon. This rapid switching creates a flickering effect that distracts from your content.
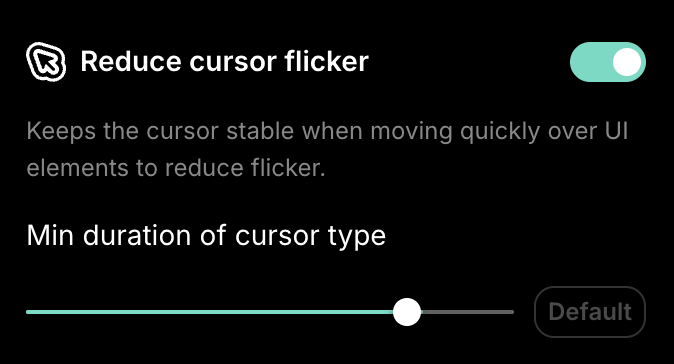
Enabling Reduce Cursor Flicker minimizes these unnecessary transitions during fast movements, resulting in a steadier, cleaner look.
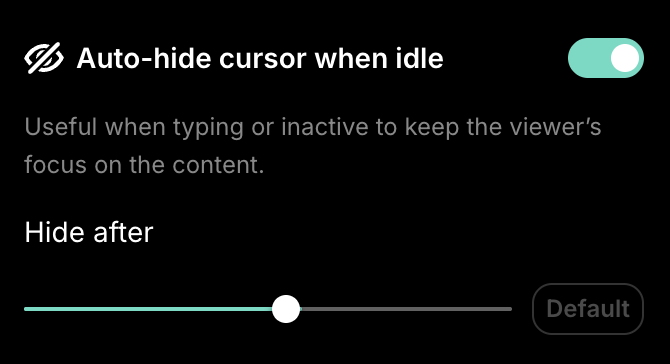
Auto-hide cursor when idle
Section titled “Auto-hide cursor when idle”An idle cursor can be distracting. Auto-hide smoothly fades the cursor out with a subtle animation when it’s inactive. Adjust the threshold to control how long the cursor stays visible before hiding.
Hide cursor completely
Section titled “Hide cursor completely”When recording mobile screens or text-based terminal sessions, the cursor may distract from the content entirely. Use Hide Cursor to remove it completely from the video.

Next steps
Section titled “Next steps”- Zooming — Add zoom effects to complement cursor enhancements
- Highlights — Spotlight specific areas of the screen
- Blur — Hide sensitive data on screen