Custom Fonts
Upload your company’s typefaces to Tutorial AI so every caption, slide, and text element uses your brand fonts. Custom fonts integrate with Brand Kits and appear in all font selection menus.
Uploading a font
Section titled “Uploading a font”Navigate to Asset Library > Fonts to see all custom fonts available in your workspace.
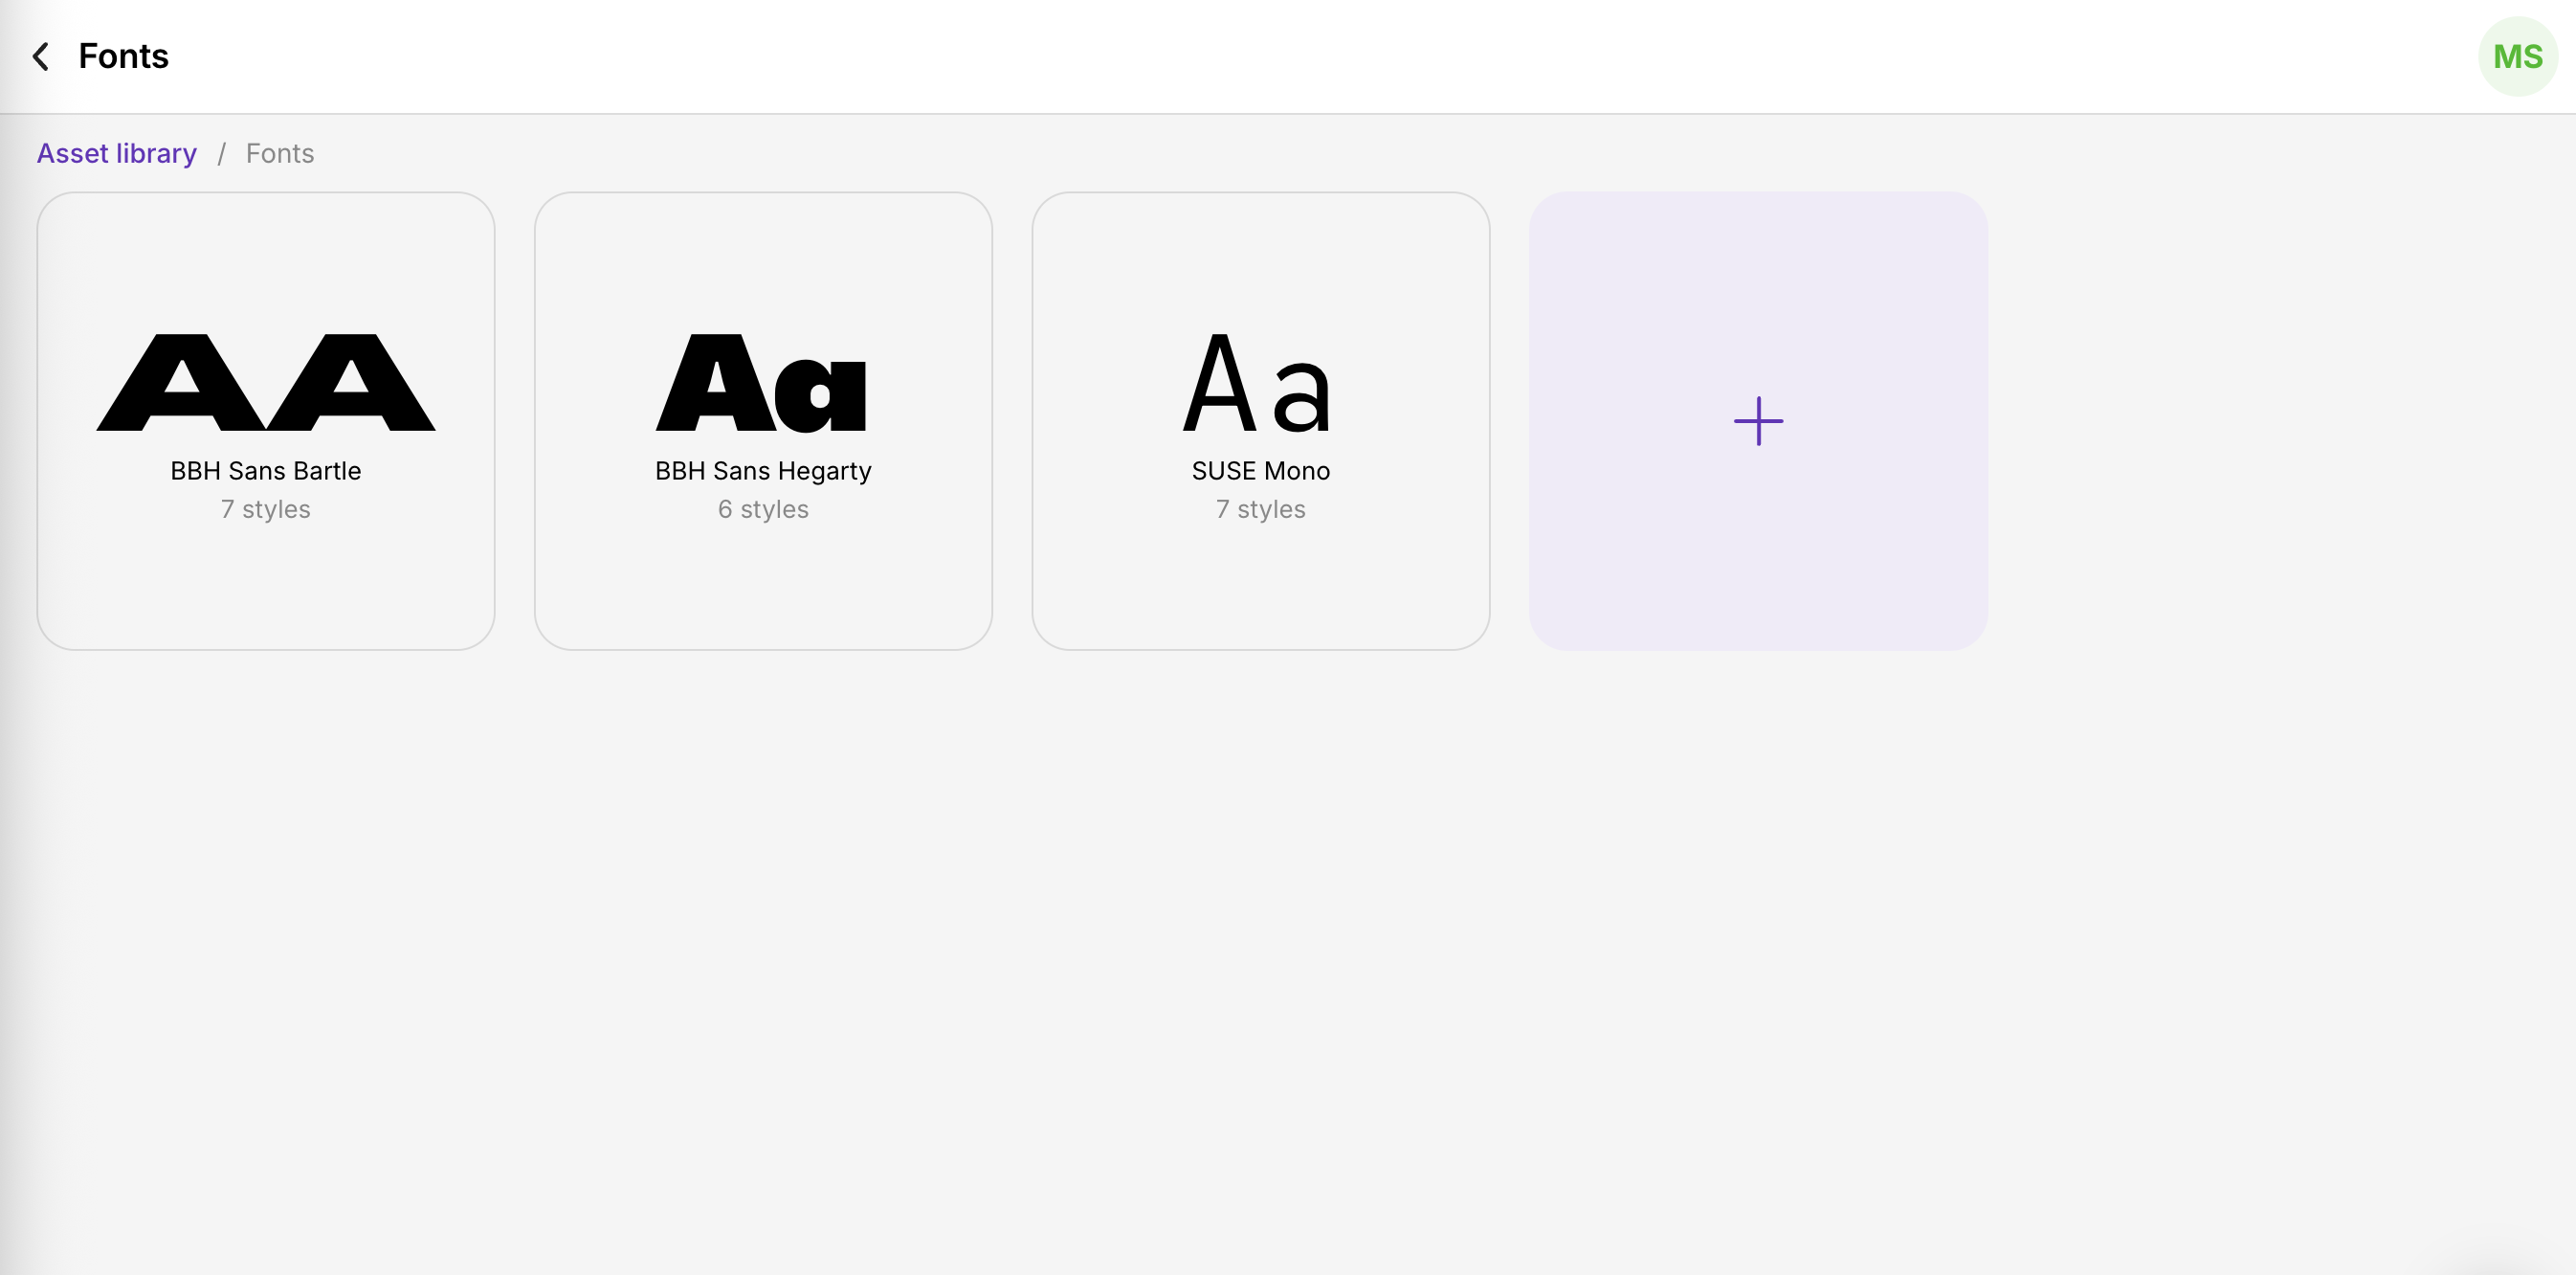
- Press the + icon to upload a new font
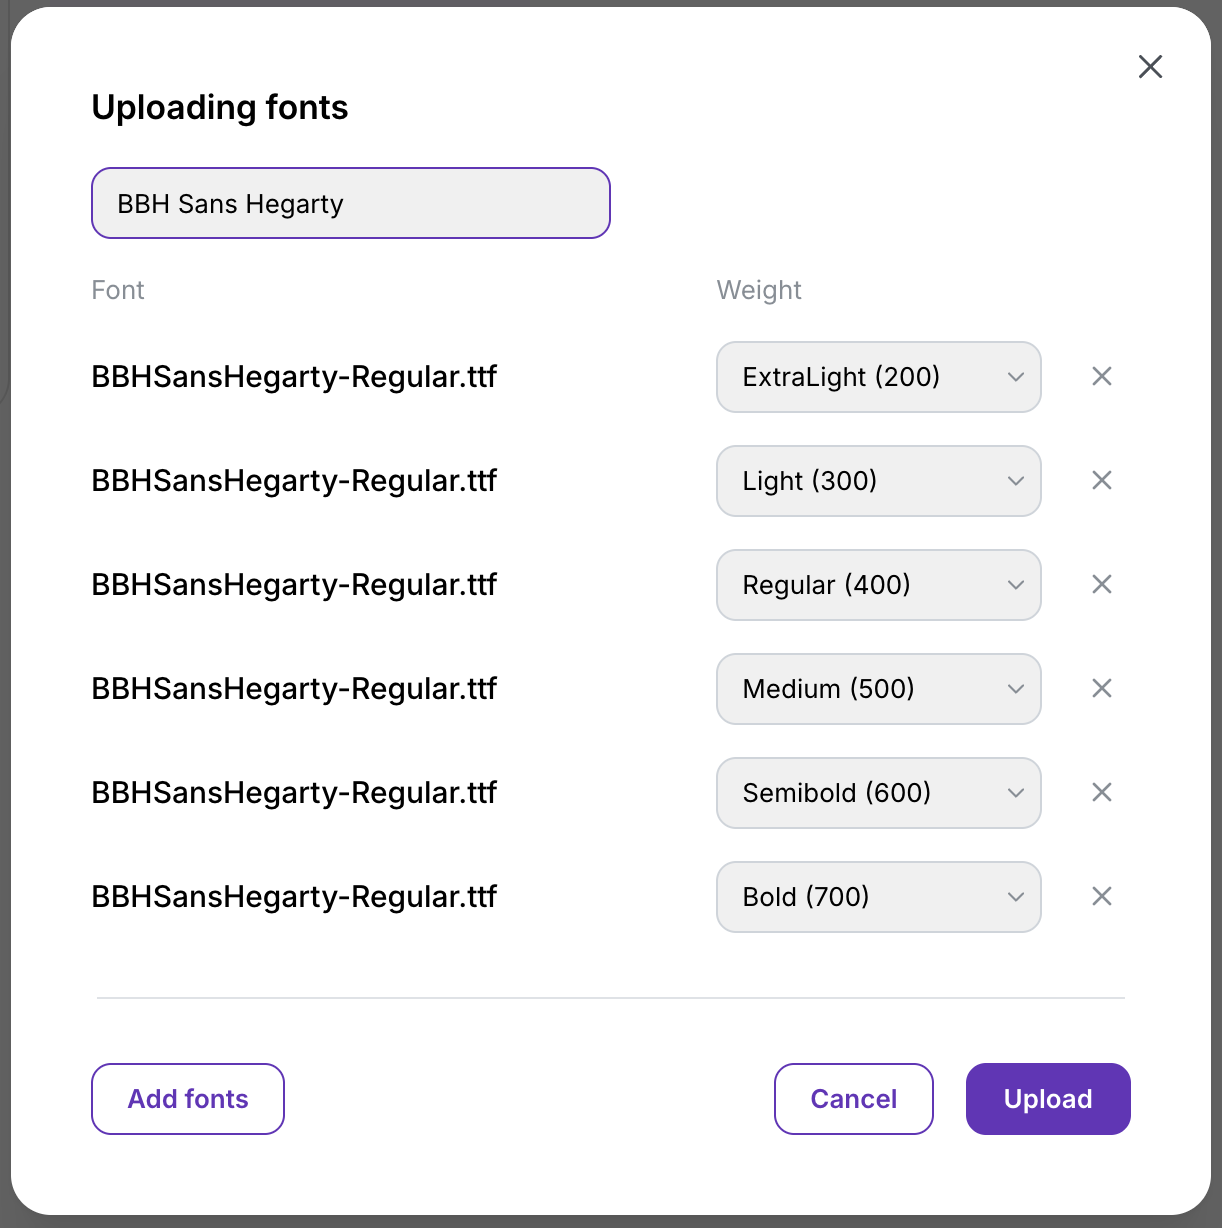
- Select your custom font file in the file picker
- Use the Add fonts button to include all files that belong to the same typeface (e.g., Regular, Bold, Italic)
- Enter the display name exactly as you want it to appear in font menus
- Click Upload to save
Supported formats: .ttf, .otf, .woff, .woff2
Variable fonts
Section titled “Variable fonts”A variable font is a single font file containing multiple styles or weights, allowing dynamic adjustments without separate files for each variation.
For variable fonts:
- Upload the same font file multiple times — once per style you want to include
- Assign a specific weight to each version individually
Where custom fonts appear
Section titled “Where custom fonts appear”Once uploaded, your custom fonts are available in:
- Brand Kit typography settings — set them as default heading or body fonts
- Slide editor — choose them for any text element on slides
- Caption styling — use them for open (burned-in) captions
- All font dropdown menus across the editor
- Upload all weights you need (Regular, Medium, Semi-Bold, Bold) for maximum flexibility
- Name fonts clearly — e.g., “Acme Sans” not “font-upload-3”
- Custom fonts are workspace-scoped — upload them in each workspace that needs them
Next steps
Section titled “Next steps”- Brand Kits — Use custom fonts in your brand kit definitions
- Captions — Style burned-in captions with custom fonts
- Slides — Apply custom fonts to slide text elements