Recording Best Practices
A good recording is the foundation of a great tutorial. These tips help you capture clean, professional footage that AI can work with effectively.
Before recording
Section titled “Before recording”Clean up your screen
Section titled “Clean up your screen”- Hide desktop icons — use the Desktop App’s built-in option to remove them from the recording
- Close unnecessary apps — only keep what’s relevant to the tutorial open
- Mute notifications — prevent popups from interrupting your flow
- Hide the Dock (macOS) — removes visual clutter from the bottom of the screen
Adjust the recording area
Section titled “Adjust the recording area”When recording browser content, exclude the browser window frame and address bar:
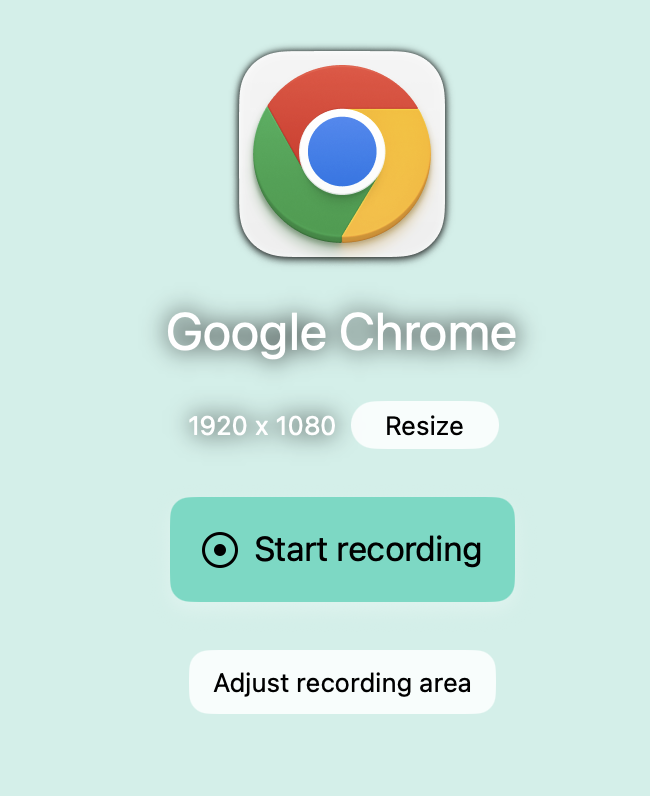
Click Adjust Recording Area before recording and drag the borders to crop out unnecessary UI elements. This keeps the viewer focused on the content.
Use a countdown timer
Section titled “Use a countdown timer”Enable the countdown timer in the Desktop App settings so you have a moment to prepare before recording starts.
During recording
Section titled “During recording”Work at a steady pace
Section titled “Work at a steady pace”Move deliberately through each step. Quick mouse movements and rapid clicks make it harder for AI to generate accurate narration and can confuse viewers.
Pause when needed
Section titled “Pause when needed”Use Ctrl + Cmd + P (Mac) or Ctrl + Alt + P (Windows) to pause the recording. The recording bar blinks red while paused.

Pausing is useful when you need to:
- Switch between screens or apps
- Review your notes
- Prepare for the next section
Speak while recording
Section titled “Speak while recording”Recording with audio gives AI a much better starting point for narration. Speak naturally — AI will clean up filler words and polish the script.
Click clearly
Section titled “Click clearly”The Desktop App tracks your mouse position and clicks to generate Sync Markers. Click on elements deliberately so the system captures clear interaction points.
Choosing the right recorder
Section titled “Choosing the right recorder”| Scenario | Recommended |
|---|---|
| Professional, customer-facing tutorials | Desktop App |
| Multi-app workflows or desktop software | Desktop App |
| Quick browser-only walkthroughs | Chrome Extension |
| Mobile app tutorials | Mobile Recording |
The Desktop App captures metadata and cursor positions that enable cursor effects — enlarged cursor, smooth movement, simplified paths. The Chrome Extension can’t do this.
After recording
Section titled “After recording”Let AI enhance your content
Section titled “Let AI enhance your content”If you recorded with audio, take advantage of the automatic enhancement options:
- Enhance Narration — removes filler words and refines sentence structure
- Smart Auto-Cut — trims idle sections from the video
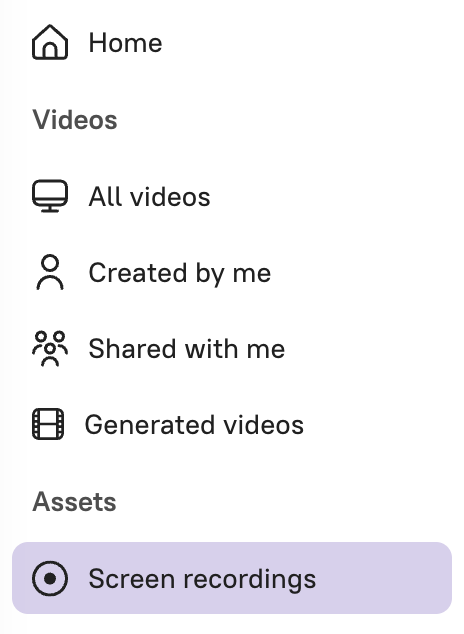
Reuse recordings
Section titled “Reuse recordings”You can create multiple projects from the same recording. Go to the Screen Recordings tab and select New project from recording to start fresh with the same footage.
Next steps
Section titled “Next steps”- Screen Recording — Desktop App recording guide
- Chrome Extension — Browser-based recording
- Edit Like a Doc — How script-based editing works