Screen Recording
The Desktop App is a client application specifically designed to capture your screen for optimal results. Record your entire screen, a specific application, a selected area, or even a portable device.

Recording options
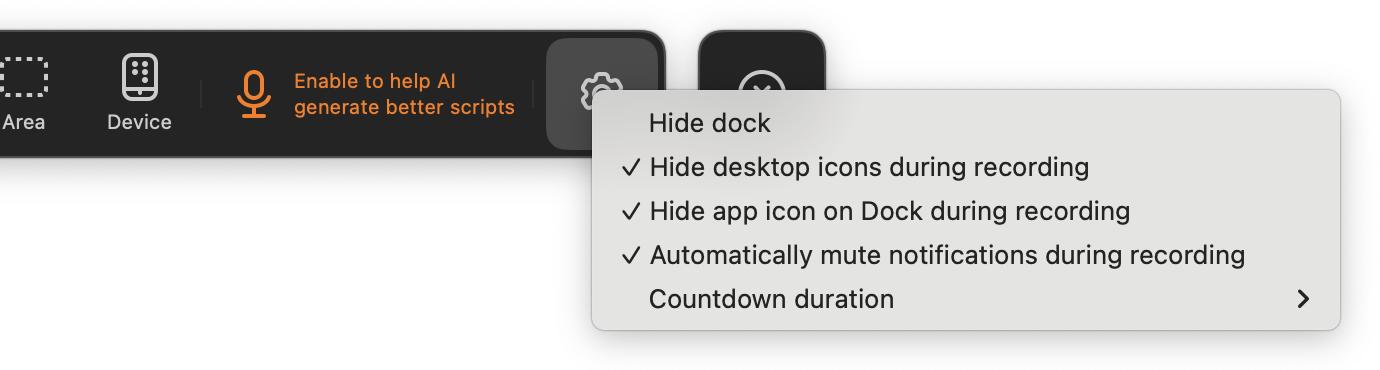
Section titled “Recording options”Before recording, you can configure several options to enhance your recording experience:
- Hide desktop icons — they won’t appear in the recording but remain visible to you
- Countdown timer — prepare yourself before recording starts
- Hide the Dock — remove the macOS Dock from the recording
- Hide the app icon — keep the Tutorial AI icon out of view
- Mute notifications — prevent popups from interrupting your recording
What makes the Desktop App unique
Section titled “What makes the Desktop App unique”Unlike traditional screen recorders, the Desktop App doesn’t just capture your screen — it also collects important metadata during recording. This metadata helps AI generate accurate narration scripts and align your narration precisely with the video.
By tracking your mouse cursor position, the Desktop App enables:
- Enlarged cursor for better visibility
- Smooth cursor movement for a professional feel
- Simplified mouse paths — straight movement from click to click
- Reduced cursor flicker and jitter
- Auto-hide cursor when idle

Learn more about these features in Cursor Effects.
Adjusting the recording area
Section titled “Adjusting the recording area”When recording browser content, exclude the browser window frame and address bar for a cleaner result:
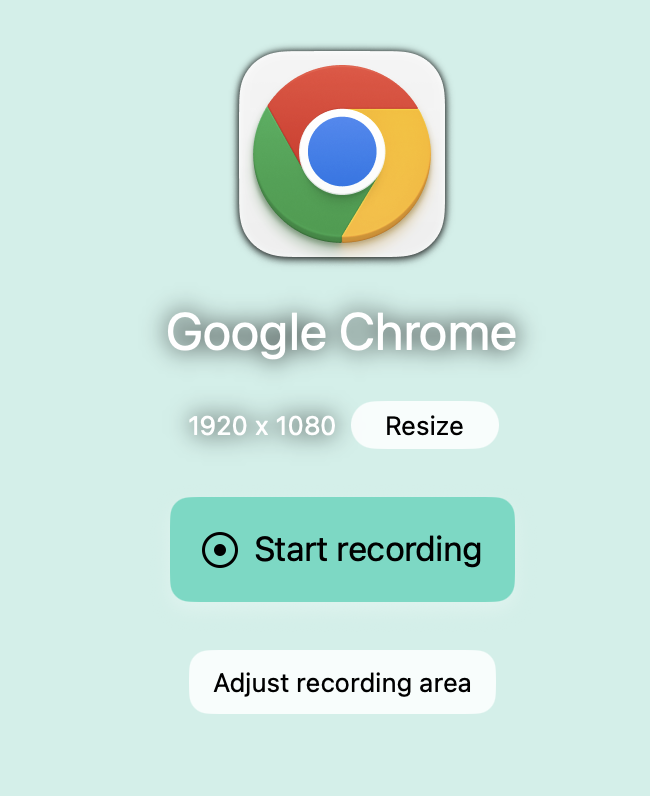
- Before recording, click the Adjust Recording Area button on the recording toolbar
- Drag the borders to exclude the window header and address bar
This removes unnecessary clutter and keeps the viewer’s attention on the main content.
Pausing during recording
Section titled “Pausing during recording”Keyboard shortcuts are particularly useful when recording longer videos, switching between screens, or reviewing your script before continuing.
Pause/Resume: Ctrl + Cmd + P (Mac) or Ctrl + Alt + P (Windows)

When paused, the recording bar blinks red. While paused, you can change tabs, review notes, or open another application. Press Resume or the same shortcut to continue — your recording picks up exactly where you left off.
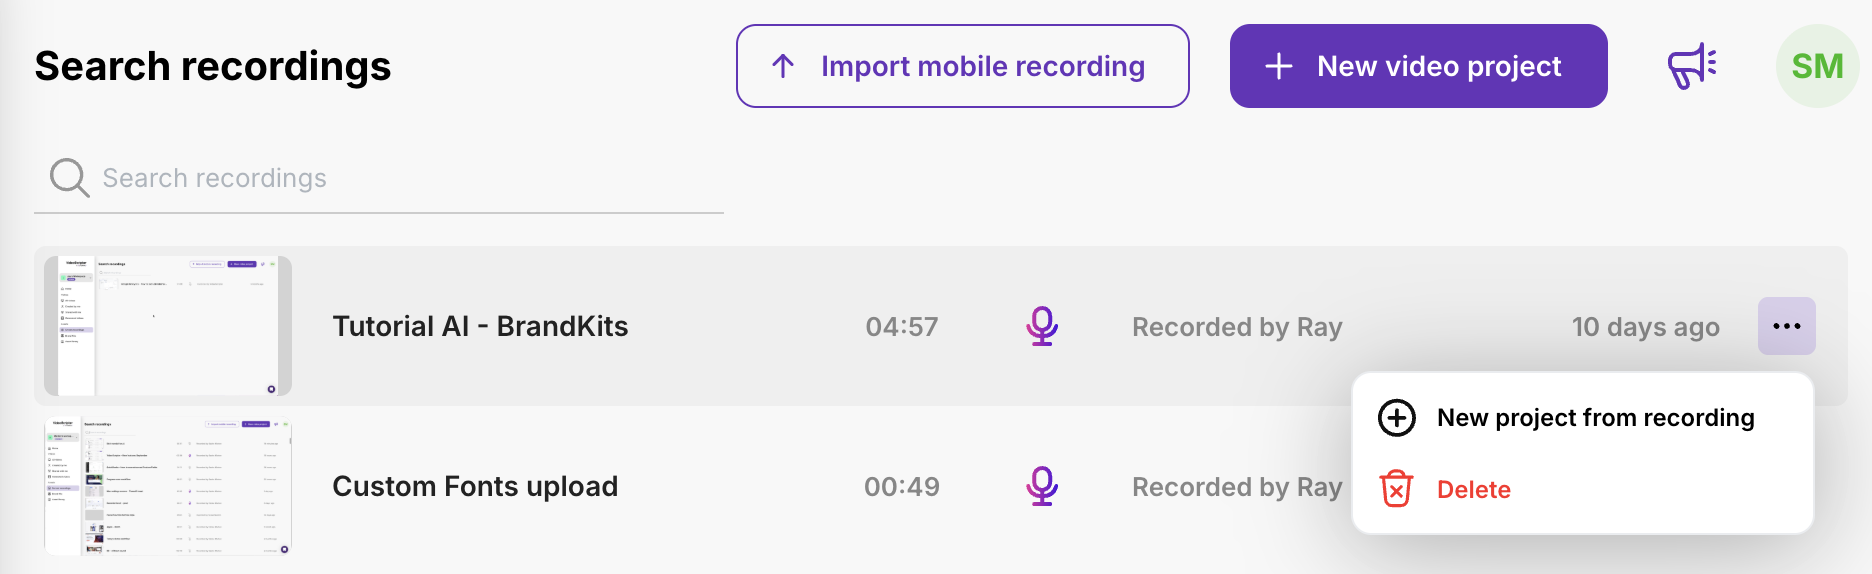
Reusing recordings
Section titled “Reusing recordings”Every screen recording automatically creates a project. To create an additional project from the same recording:
- Go to the Screen Recordings tab
- Select a recording and click New project from recording from the three-dot menu
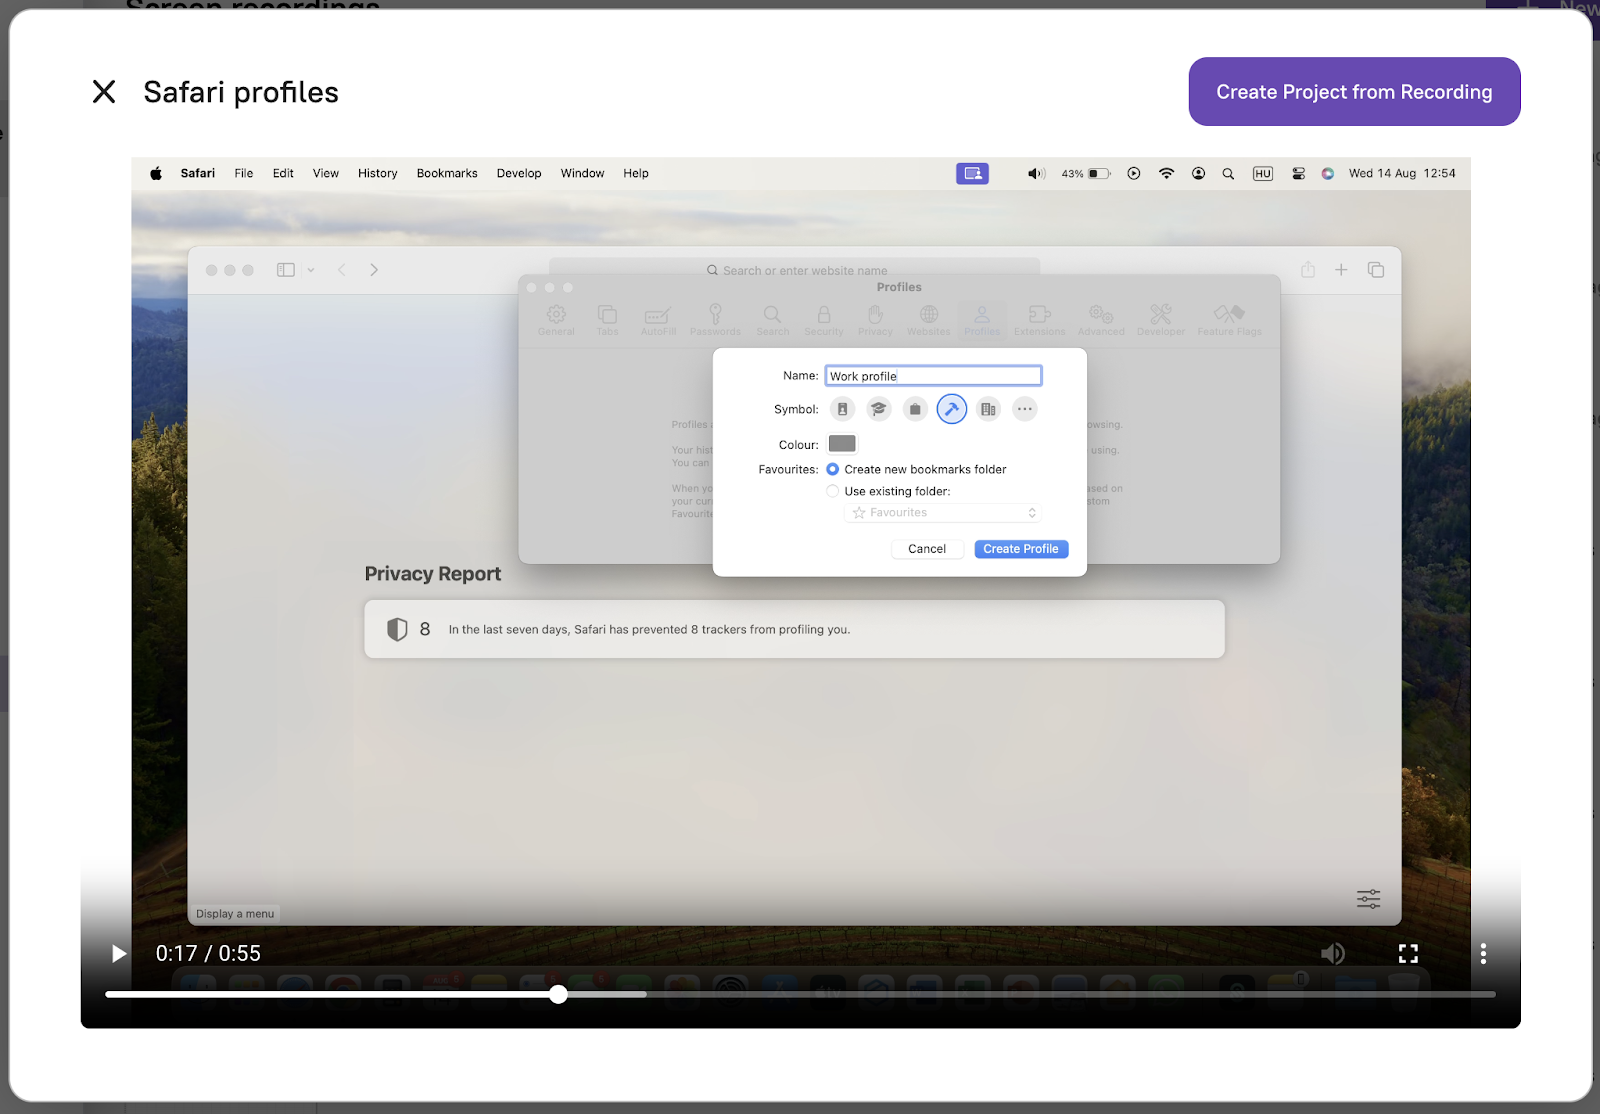
Or open the recording and click Create Project from Recording in the top right corner.
Troubleshooting
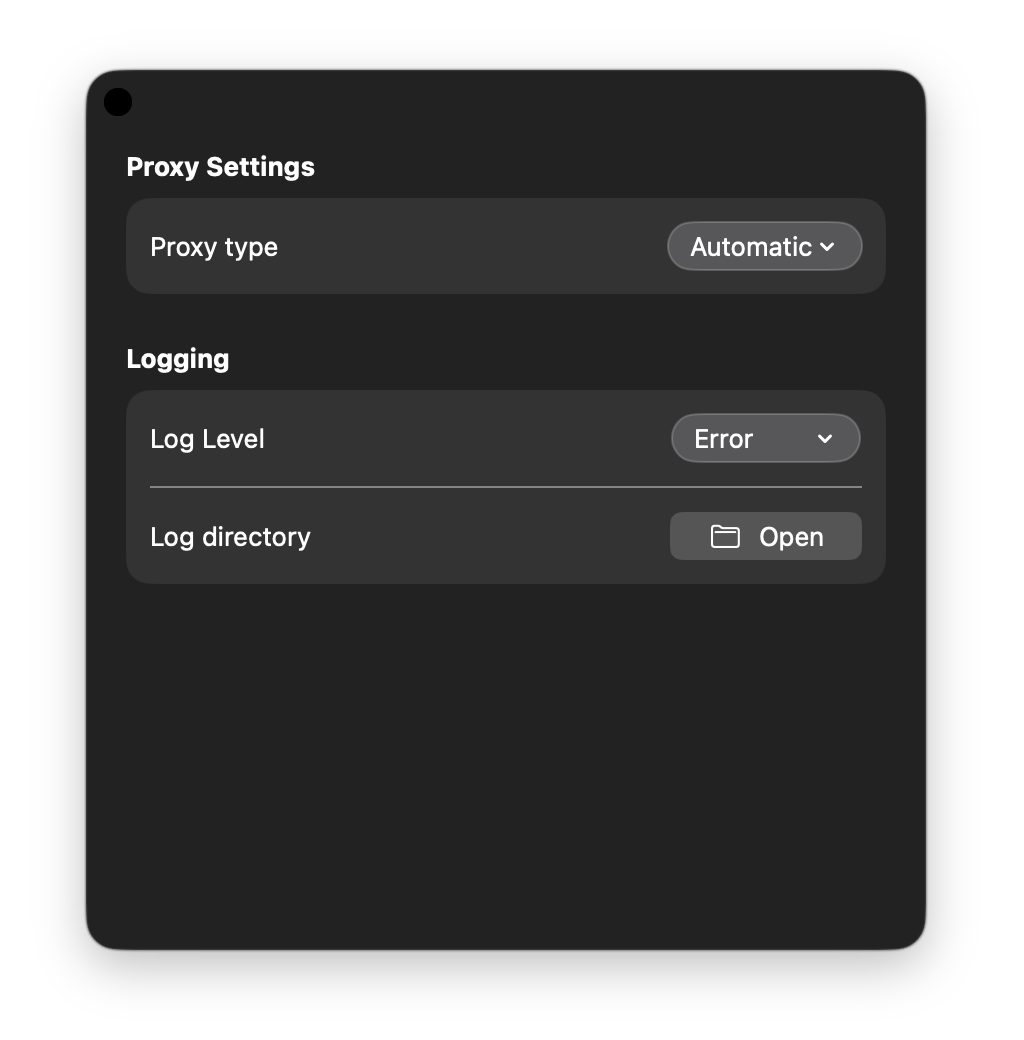
Section titled “Troubleshooting”To access advanced settings — including proxy and logging options — open the Settings panel. If you’re behind a corporate firewall or encountering issues, contact our support team.
Next steps
Section titled “Next steps”- Chrome Extension — When to use the browser extension instead
- Uploading Videos — Import an existing recording or an Asset Library clip
- Recording with Audio — Speak while recording for better scripts
- Recording Best Practices — Tips for clean, professional recordings