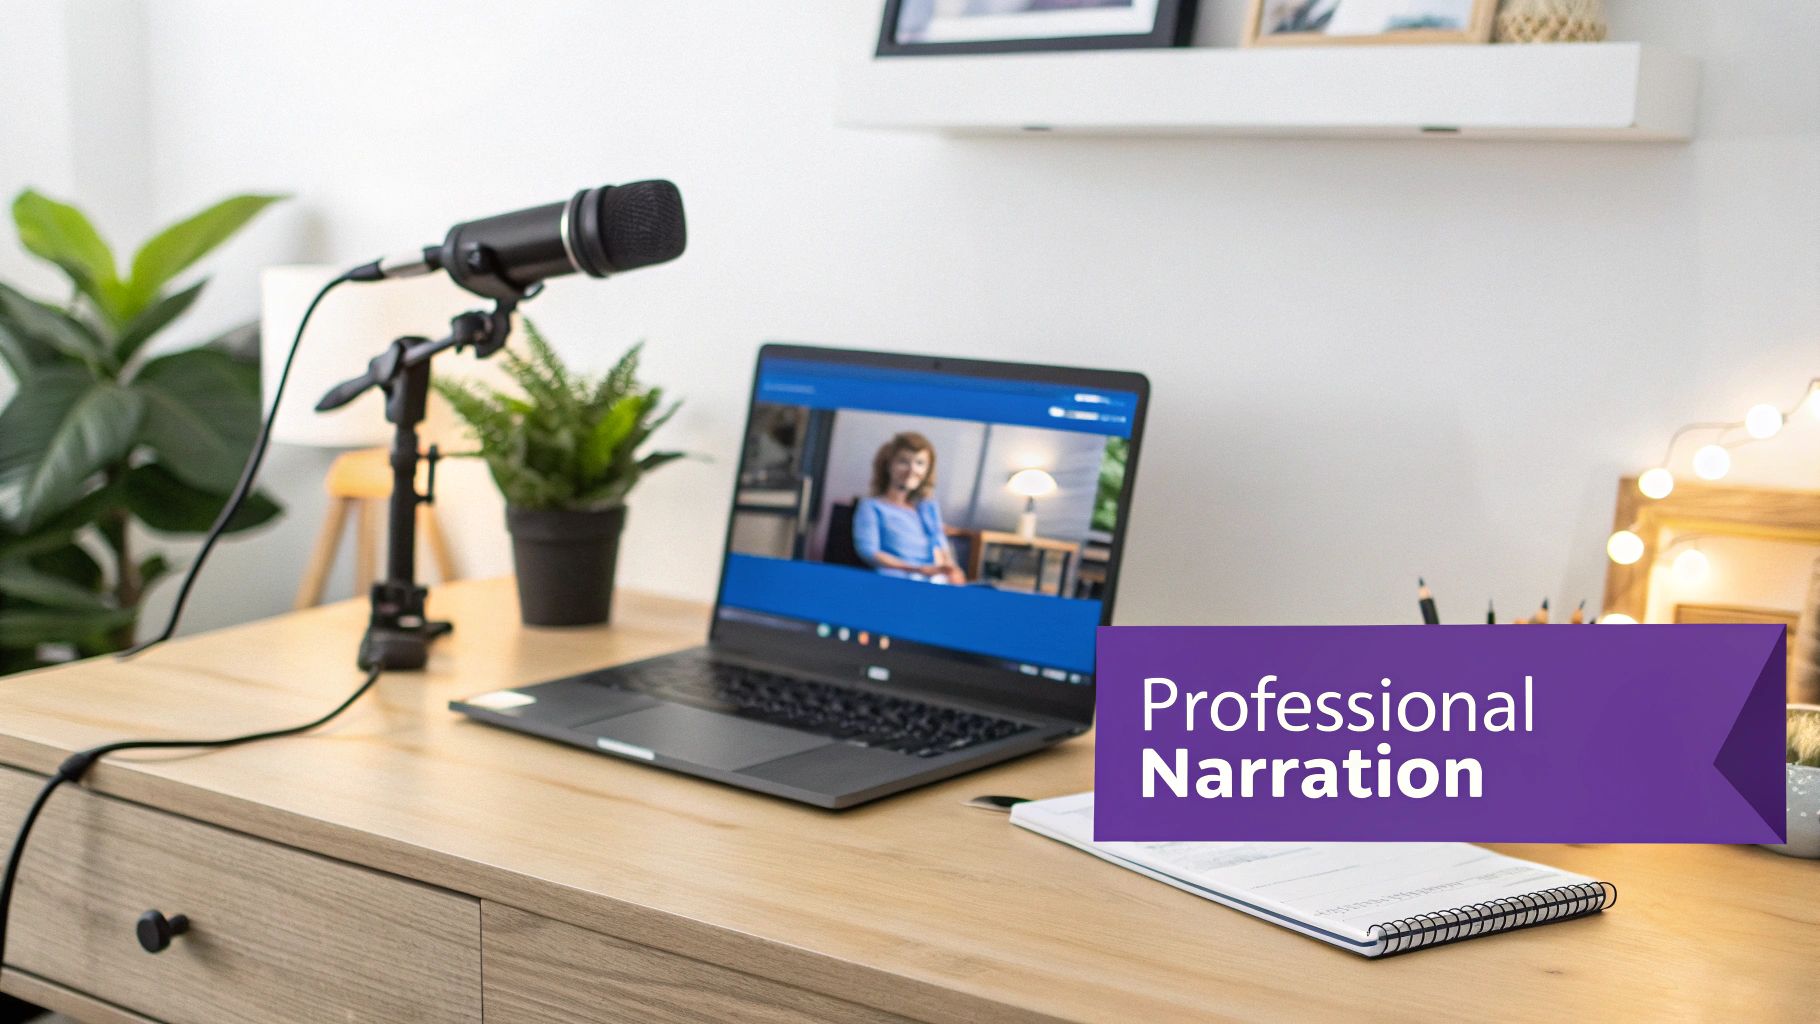
A killer voice over is what separates a decent screen recording from a truly compelling, professional video. This guide is all about breaking down the entire process—from the nuts and bolts of preparation to using some really smart AI workflows. By the time we’re done, you’ll have the know-how to produce narration that sounds like it came straight from a studio and actually keeps your audience hooked.
How Professional Narration Can Transform Your Videos
Figuring out how to do a voice over isn’t just about reading a script. It’s about adding that essential layer of polish, clarity, and personality that makes people actually want to watch. There’s a reason the professional voiceover industry is a multi-billion dollar giant; the boom in e-learning, corporate training, and knowledge base videos has made quality narration a must-have.
For any team creating these kinds of assets, a great voice over is the key to turning a raw screen capture into something that looks and sounds professional. The growth in this space is pretty staggering—if you’re curious, you can find a ton of detailed stats over at Voiceoverxtra.com.
But let’s be real. The traditional route to a polished video is often a nightmare. Easy-to-use recording via Loom is often 50-100% longer than necessary, littered with “ums,” long pauses, and restarts. On the flip side, professional video editing software such as Camtasia or Adobe Premiere Pro requires expert video editing knowledge.
This leaves a huge, frustrating gap. The subject matter experts have all the knowledge, but they don’t have the time or skills to edit like a pro. They need a better way to create effective training content without the headache.
A Modern Fix for Creating Videos Efficiently
This is exactly where AI-powered tools are changing the game. Take Tutorial AI, for example. Its tools let you speak freely without any practice and still your video will look professional as if it was edited in Adobe Premiere Pro. It generates video tutorials based on screen recordings, allowing the subject matter expert to create on-brand videos extremely efficiently.
This approach is perfect for cranking out all sorts of content with incredible speed. Think about it for:
- Demos, onboarding videos, and explainer videos that get straight to the point and show off your product’s value.
- Feature release videos to get users up to speed quickly on what’s new.
- Knowledge base videos and support article videos that answer common questions and help cut down on support tickets.
Of course, once you have that amazing narration, you want to make sure it looks great everywhere. It’s a good idea to get familiar with things like Instagram video format specifications to make sure your hard work has the biggest impact on social media. For a deeper dive, you can also check out our guide on /b/how-to-create-ai-video.
Setting the Stage for a Perfect Voice Over
Before you even dream of hitting that record button, there’s some crucial groundwork to lay. How well you prepare your script, your space, and your gear will ultimately decide whether your recording session is a creative breeze or a technical nightmare.
Think of it this way: every minute you spend on prep now saves you ten minutes of agonizing cleanup in post-production. It’s the absolute foundation for getting a professional sound, and skipping it is a recipe for frustration.
Crafting a Script That Speaks Naturally
Here’s a rookie mistake I see all the time: writing a script that’s meant to be read on a page, not spoken into a microphone. Formal language, long-winded sentences, and dense paragraphs just sound clunky and unnatural when read aloud. Your mission is to write for the ear.
The best way to do this is to read every single line out loud as you write. Does it flow? Does it sound like something a real person would actually say? If it feels awkward in your mouth, it’ll sound ten times worse in the final recording. Rewrite it until it feels conversational.
A few practical tips for a better voice-over script:
- Keep it simple and direct. Ditch the jargon unless you’re absolutely certain your audience speaks that language.
- Write in short sentences. They’re easier to deliver with proper breath control and much easier for listeners to digest.
- Mark up your script. Use ellipses (…) or add notes like
(slight pause)to remind yourself where to breathe and let important ideas land. - Embrace contractions. Using “you’ll,” “it’s,” and “can’t” instantly makes your delivery more relatable and human.
This focus on authentic delivery has never been more critical. Even with the rise of AI voices, the demand for genuine human connection is stronger than ever. In fact, over 50% of companies still plan to use human talent for their brand marketing. Corporate and explainer videos, in particular, are huge drivers for voice actors because they are so effective at boosting engagement. If you want to dive deeper, you can discover more insights about future voice over trends and how they’re shaping the industry.
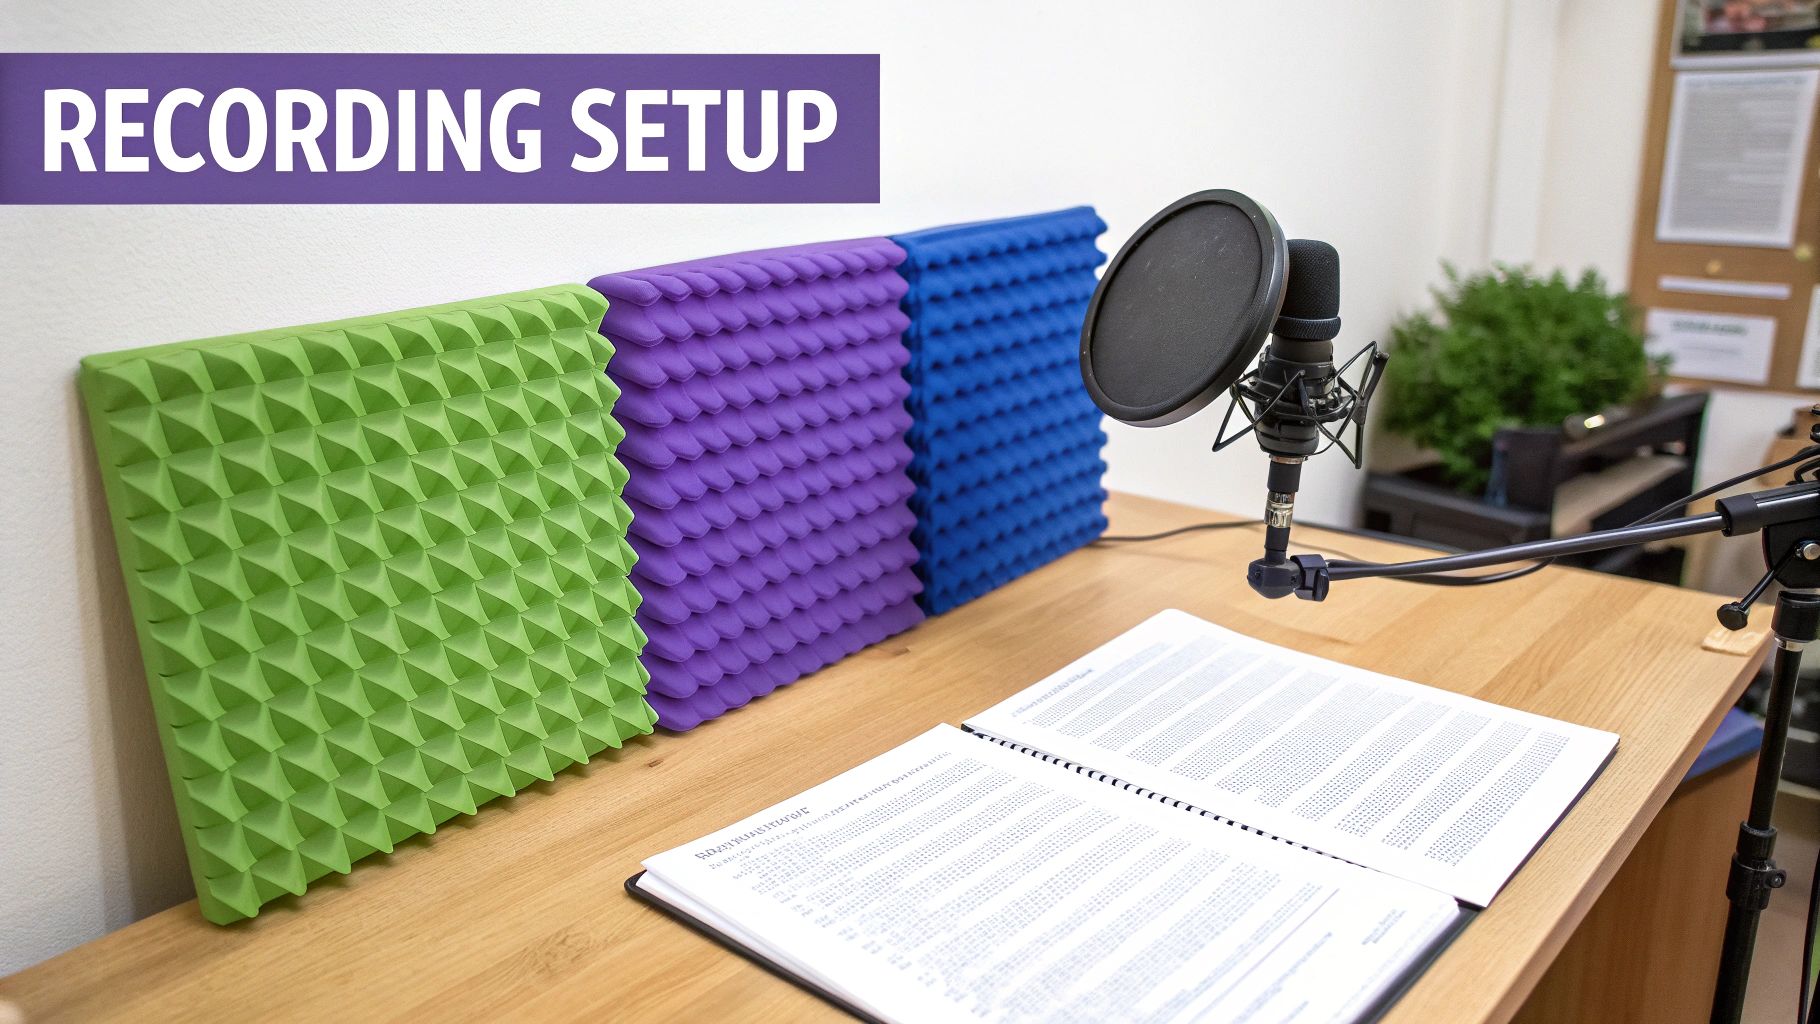
Creating Your Ideal Recording Environment
You don’t need to build a professional-grade studio to get clean, crisp audio. Your main objective is to defeat the two biggest enemies of a good recording: ** background noise** and echo (also known as reverb).
Look for a small room with lots of soft surfaces. A bedroom with a thick carpet, a walk-in closet packed with clothes, or a study with heavy drapes are all excellent choices. These materials are fantastic at absorbing sound waves, preventing them from bouncing around and creating that hollow, amateurish echo.
Pro Tip: Try the clap test. Stand in your chosen space and give a single, sharp clap. If you hear a lingering metallic ring, you’ve got too much reverb. If the sound is a quick, dull thud, you’re in great shape. Whatever you do, stay away from big, empty rooms with hard surfaces like kitchens, bathrooms, or garages. The natural echo in those spaces is a nightmare to remove later and will instantly degrade your audio quality.
Selecting the Right Microphone for Your Needs
Your microphone is the heart of your recording setup, but that doesn’t mean you need to spend a fortune. For most people starting out, a high-quality USB microphone offers the perfect blend of performance, simplicity, and value.
You’ll generally choose between two main types of microphones:
- Condenser Mics: These mics are incredibly sensitive and capture a ton of detail, which is perfect for picking up the subtle nuances in your voice. They’re the go-to for studio-style voice-overs in a quiet, controlled space. Most popular USB mics, like the Blue Yeti or Rode NT-USB, fall into this category.
- Dynamic Mics: These are the workhorses of the audio world. They’re less sensitive than condensers, which makes them fantastic at rejecting background noise. If your recording space is less than perfect, a dynamic mic can be a lifesaver. This is why you see so many podcasters using them.
Whichever you choose, mic placement is everything. A good starting point is to position the microphone about 6-8 inches from your mouth, slightly off to one side. This helps you get a warm, clear vocal tone while avoiding “plosives”—those harsh pops of air from “p” and “b” sounds that can ruin a take.
To help you stay on track, I’ve put together a quick checklist. Run through this before every session, and you’ll set yourself up for success from the get-go.
Your Essential Voice Over Preparation Checklist
Follow these key preparation steps to ensure your recording session is a success from the start.
| Task | Traditional Method (e.g., Premiere Pro) | AI-Powered Method (Tutorial AI) |
|---|---|---|
| Initial Recording | Requires multiple takes to get a "perfect" narration, often following a strict script. | Record freely and conversationally in a single take, without worrying about mistakes. |
| Editing Mistakes | Manually find and slice out mistakes, ums, and pauses on a complex video timeline. | Simply delete unwanted words or phrases from the auto-generated text transcript. |
| Pacing & Timing | Manually cut and trim video clips to match the audio, a tedious and time-consuming task. | The video is automatically trimmed and paced as you edit the text, ensuring perfect sync. |
| Updating Content | Requires re-recording audio, re-editing the video, and re-syncing everything from scratch. | Simply edit the text in the script. The AI regenerates the voice over and updates the video instantly. |
| Required Skills | Expert-level knowledge of video editing software, audio engineering, and timeline management. | Basic document editing skills. No technical video or audio expertise needed. |
This comparison makes it obvious why so many teams are ditching cumbersome, manual editing. The AI-powered path opens up video creation, putting the power to produce high-quality instructional content directly into the hands of experts. And if you’re curious about how AI is changing content creation behind the scenes, exploring how to use AI for faceless content can give you more ideas for your own narration projects.
Frequently Asked Questions About Voice Overs
When you’re just starting out with voice overs, it feels like there’s a million things to learn. Questions about gear, technique, and delivery can feel overwhelming. Let’s clear up a few of the most common ones I hear so you can skip the guesswork and get right to recording.
How Can I Make My Voice Over Sound Professional?
Believe it or not, a professional sound has less to do with a thousand-dollar microphone and more to do with your recording space and how you use it. The two biggest enemies of clean audio are background noise and echo.
Your mission is to find a quiet spot and kill that reverb. A small room with plenty of soft surfaces is your best friend here—think a bedroom with a carpet and a made-up bed, or even a walk-in closet packed with clothes. These materials are fantastic at absorbing sound waves, preventing them from bouncing around and making your recording sound hollow.
Once you’ve got your space sorted, pay attention to your mic placement. A good starting point is to position yourself about 6-8 inches away from the microphone. This is close enough to capture the rich, warm tones of your voice but far enough to avoid those distracting “p” and “b” popping sounds, known as plosives. Slow your pace down just a touch from your normal conversational speed and really focus on clear enunciation. These tweaks alone will make a massive difference, even if you’re using a simple USB mic.
What’s the Biggest Mistake Beginners Make?
By far, the most common pitfall is reading the script in a flat, monotone drone. It happens to everyone. You get so focused on just saying the words correctly that you forget to add any life to them. The result is a recording that sounds robotic and completely disengages the listener. A great voice over feels like a genuine conversation, not an audiobook read by a computer.
The fix starts with your script. Write like you talk. Use contractions (“it’s,” “you’ll”) and read every single sentence out loud as you write. If a phrase feels clunky or unnatural to say, rewrite it until it rolls off the tongue. Practice is everything—the more you internalize the script, the less you’ll sound like you’re reading it, allowing your natural personality to shine through.
Should I Use an AI Voice Instead of My Own?
The choice between recording yourself and using an AI-generated voice usually comes down to two things: efficiency and consistency. Modern AI voices are a game-changer for projects that require a huge volume of content, like building out a full knowledge base or translating tutorials into several languages.
AI is also your best ally when you know you’ll need to make frequent updates. Manually re-recording a sentence or two because a product feature changed is a real pain. With an AI tool, you just tweak the text, and poof—the audio is updated instantly. While your own voice is probably better for content that leans heavily on personal storytelling, for clear, instructional material, AI offers a polished, professional, and incredibly efficient way to get the job done.
Creating great tutorials doesn’t have to be a grind. With Tutorial AI, you can capture your screen while you talk, then edit the final video just by editing the text transcript. It perfectly bridges the gap between basic screen recorders and complicated professional video suites, letting you create polished, on-brand videos in a fraction of the time. Learn more and get started for free at Tutorial.ai.