How do I translate a project?
Translate a tutorial into any of 70+ supported languages, then review, generate, and publish each language version from one place.
Tutorial AI translates a finished project into any of the supported languages — voiceover, captions, and video timing all adapt automatically. Translations are created as drafts inside a Translation Folder, so you can review each language before generating and publishing the final video.
The full workflow:
- Start a translation — from the project menu or the Videos dashboard.
- Choose languages — pick one or more in one pass.
- Review the drafts — translations land as drafts in a Translation Folder.
- Generate and publish each language — via the Share menu.
- The Embed Player automatically picks up every published language.
Starting a translation
There are two places to start. Both open the same language picker.
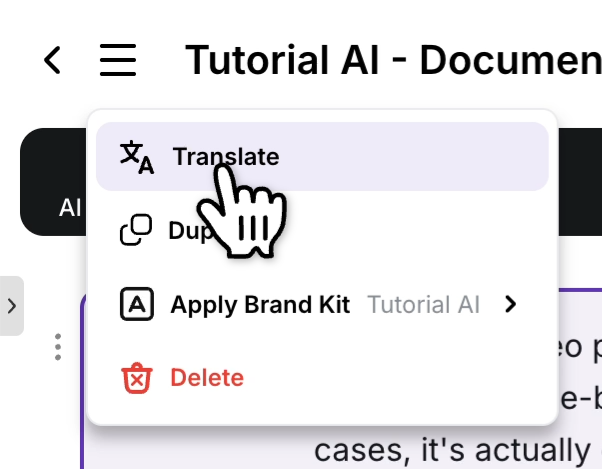
From inside the project editor — open the project menu and choose Translate.
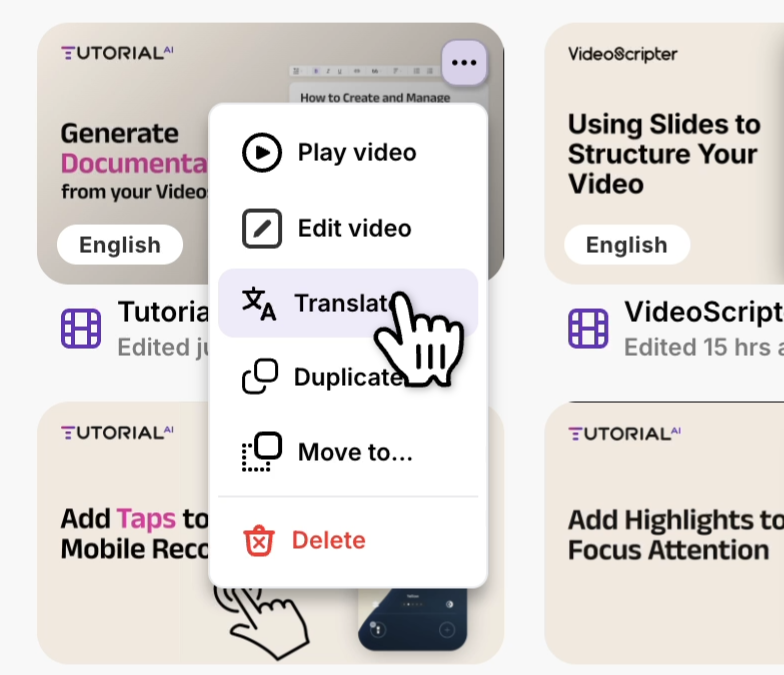
From the Videos dashboard — on the video you want to translate, open the three-dot menu and choose Translate.
Choosing languages
Tick the languages you want, then click Translate to kick off all of them in one pass.
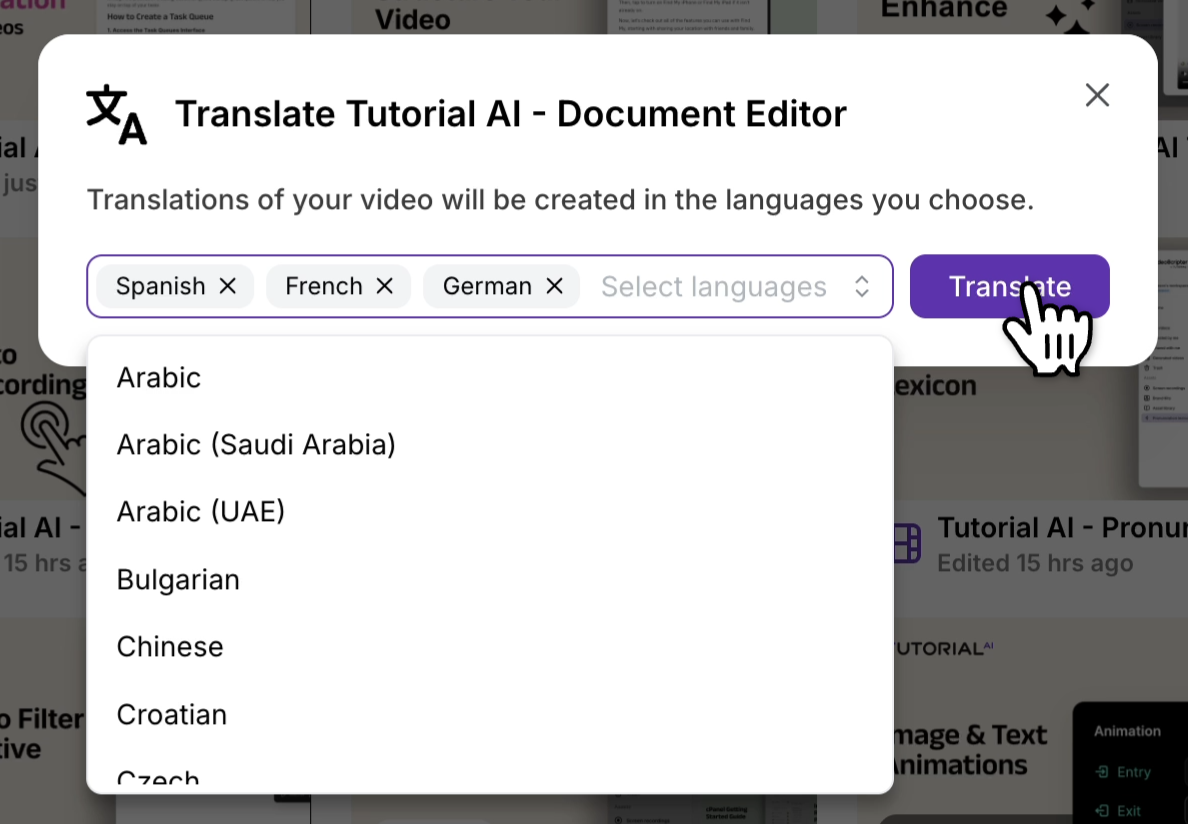
For the full list of available languages — 74 base languages plus regional variants, including 42 in our experimental tier — see What languages do you support?
The translation folder
Tutorial AI groups the source and every translation into a Translation Folder, named after the source video.
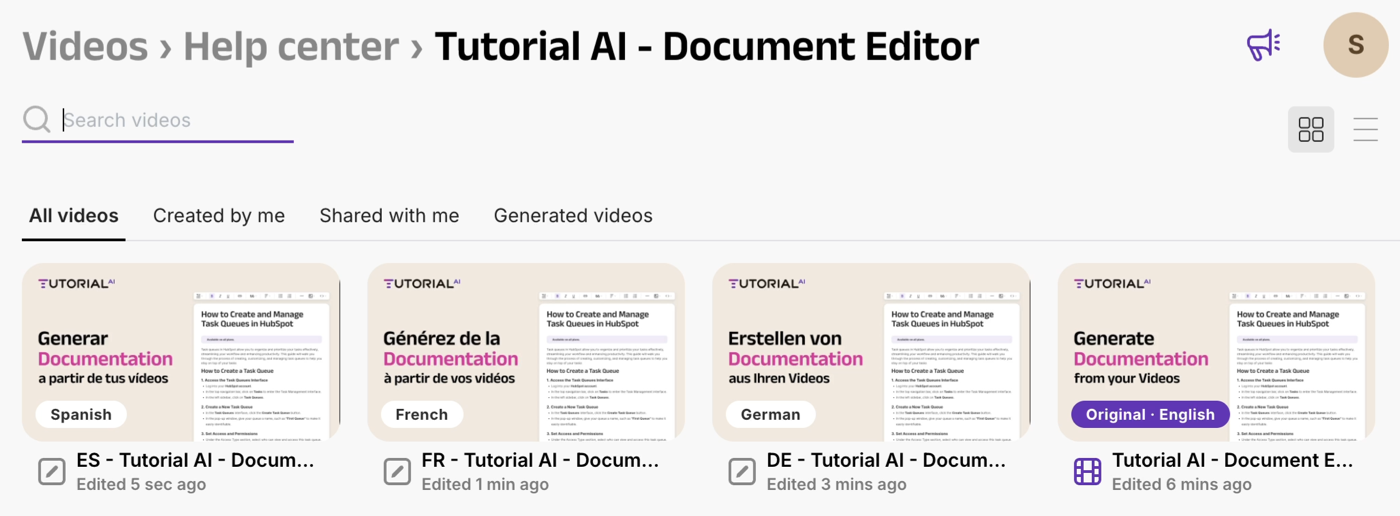
⚠️ Translations are saved as drafts. The video isn’t generated yet — you’ll generate and publish each language version separately in the next step. This lets you review the translated script before committing to a final render.
See Organize videos with folders for how Translation Folders work in your library.
Generating and publishing each language
- Open a translated project from the Translation Folder.
- Review the translated script — fix any names, terms, or phrasing as needed. For tricky pronunciations (brand names, acronyms), use the Pronunciation Lexicon.
- Open the Share menu and click Generate to produce the video for this language.
- Wait for generation to complete.
- Publish the language version. You can publish each one separately, or use Republish all to push every generated language live in one click.
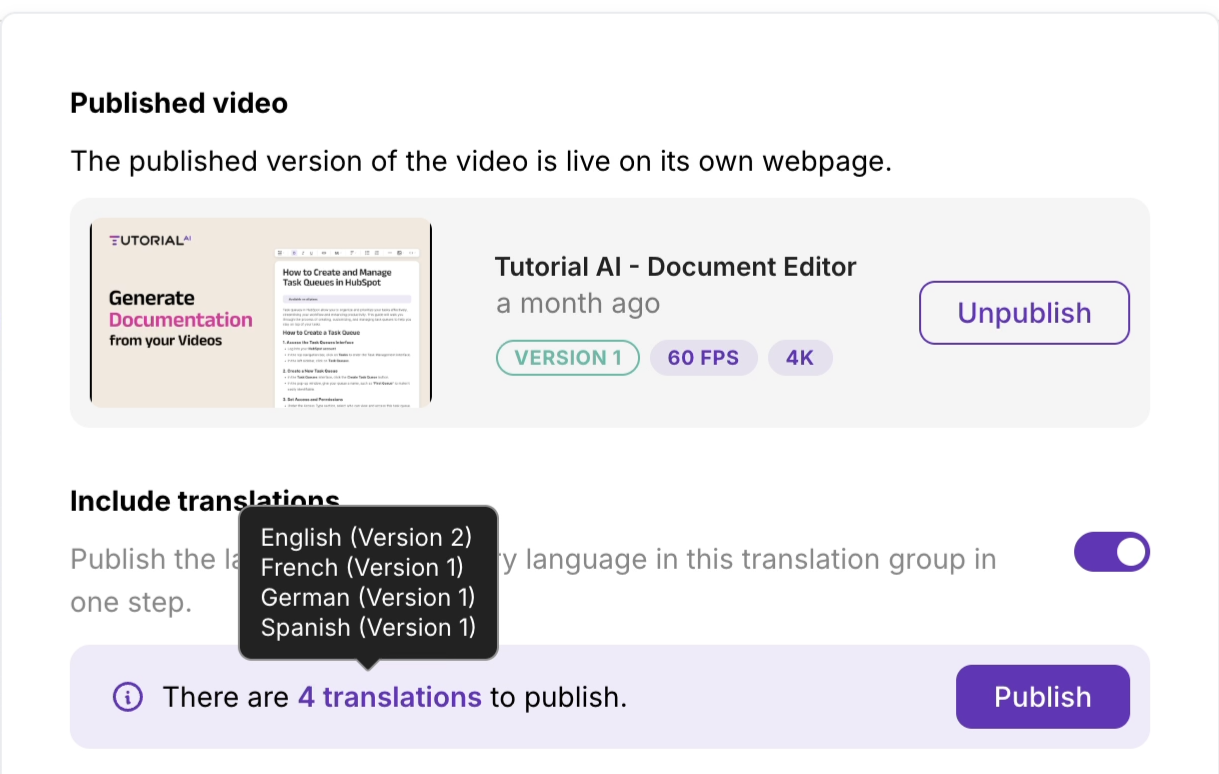
The Embed Player
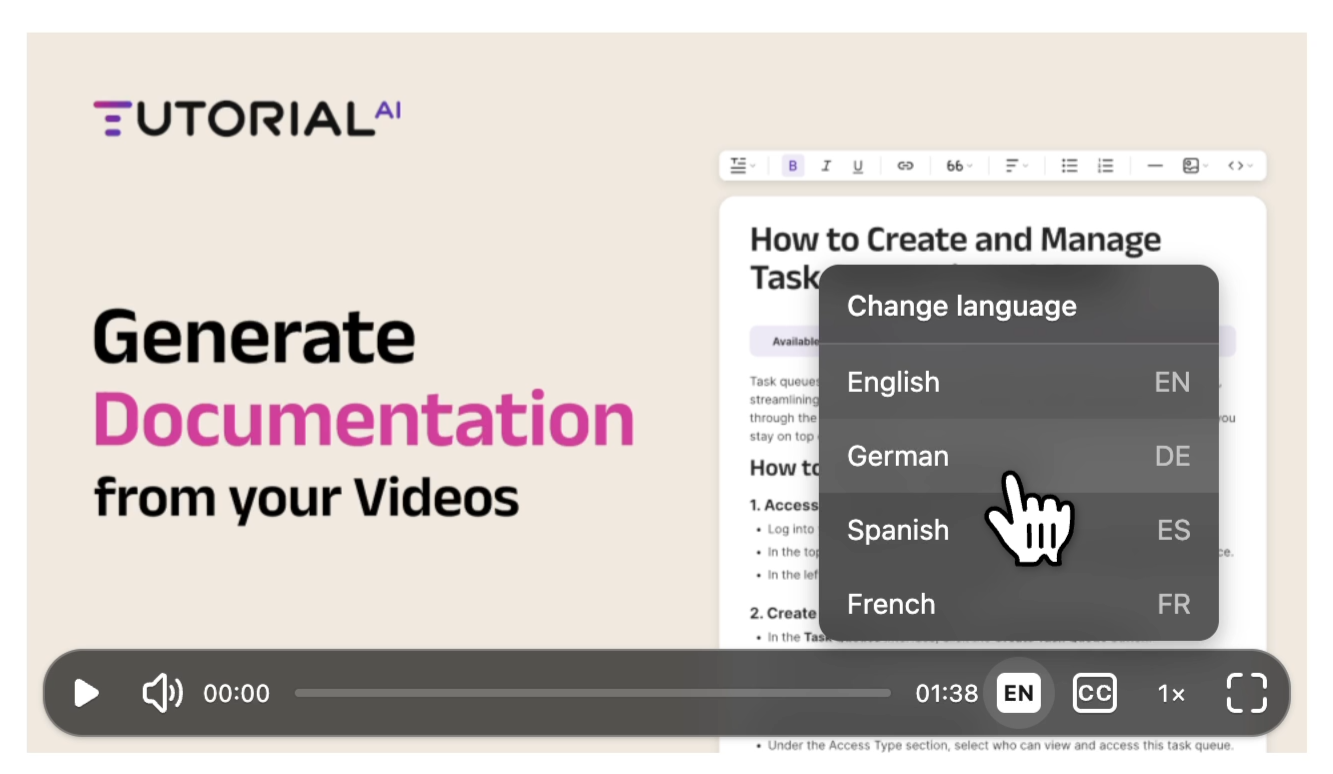
Once you’ve published one or more languages, the Embed Player automatically shows a Language Selector for viewers — no embed-code change needed. Adding a new language later (re-translate, generate, publish) makes it appear in every existing embed.
🔗 Need to share just one language, without the switcher? Duplicate that translation and publish it as a standalone project — see How do I share a single language version? Alternatively, if you only want to set the default language but keep the switcher, append ?lang=<code> to your share or embed URL.
How the player picks the language
If a viewer lands without a ?lang= URL parameter, the player chooses a default in this order — first hit wins:
- The viewer’s browser language — exact match against your published translations, falling back to the base language (e.g.
en-GB→en). - The video’s original language, if you’ve published it.
- English, if the original isn’t published.
The viewer can switch languages at any time from the in-player selector.
Tips
- Finalize the source before translating. Script edits made to the original after translation don’t propagate to existing translations automatically.
- Pick all the languages in one pass. Each Translate run creates a separate copy — running it twice for the same language makes two drafts.
- Review before publishing. AI translation is strong, but proper nouns and product terms still benefit from a human pass.