Cut & Trim Video Segments
Skip the hassle of a redoing screen recordings by using the Cut Tool to trim unwanted sections.

We all make mistakes when recording or sharing our screens. Luckily, you can skip the hassle of a complete redo by using the Cut Tool to remove unwanted sections. Follow the steps below to quickly trim or remove parts of your video that you don’t need.
1. Open the Cut Tool
- Go to the part of your video where you want to make edits.
- Click the Cut icon in the toolbar.
- A detailed timeline editor appears, allowing you to trim the beginning or end of your recording — or remove entire sections.
2. Zoom in for Precision
- Use the zoom slider or the pinch-zoom gesture (on touch devices) to get a closer look at your timeline. This helps you edit smaller, more precise segments of your recording.

- Use the swipe gesture to move your timeline to the left or to the right.
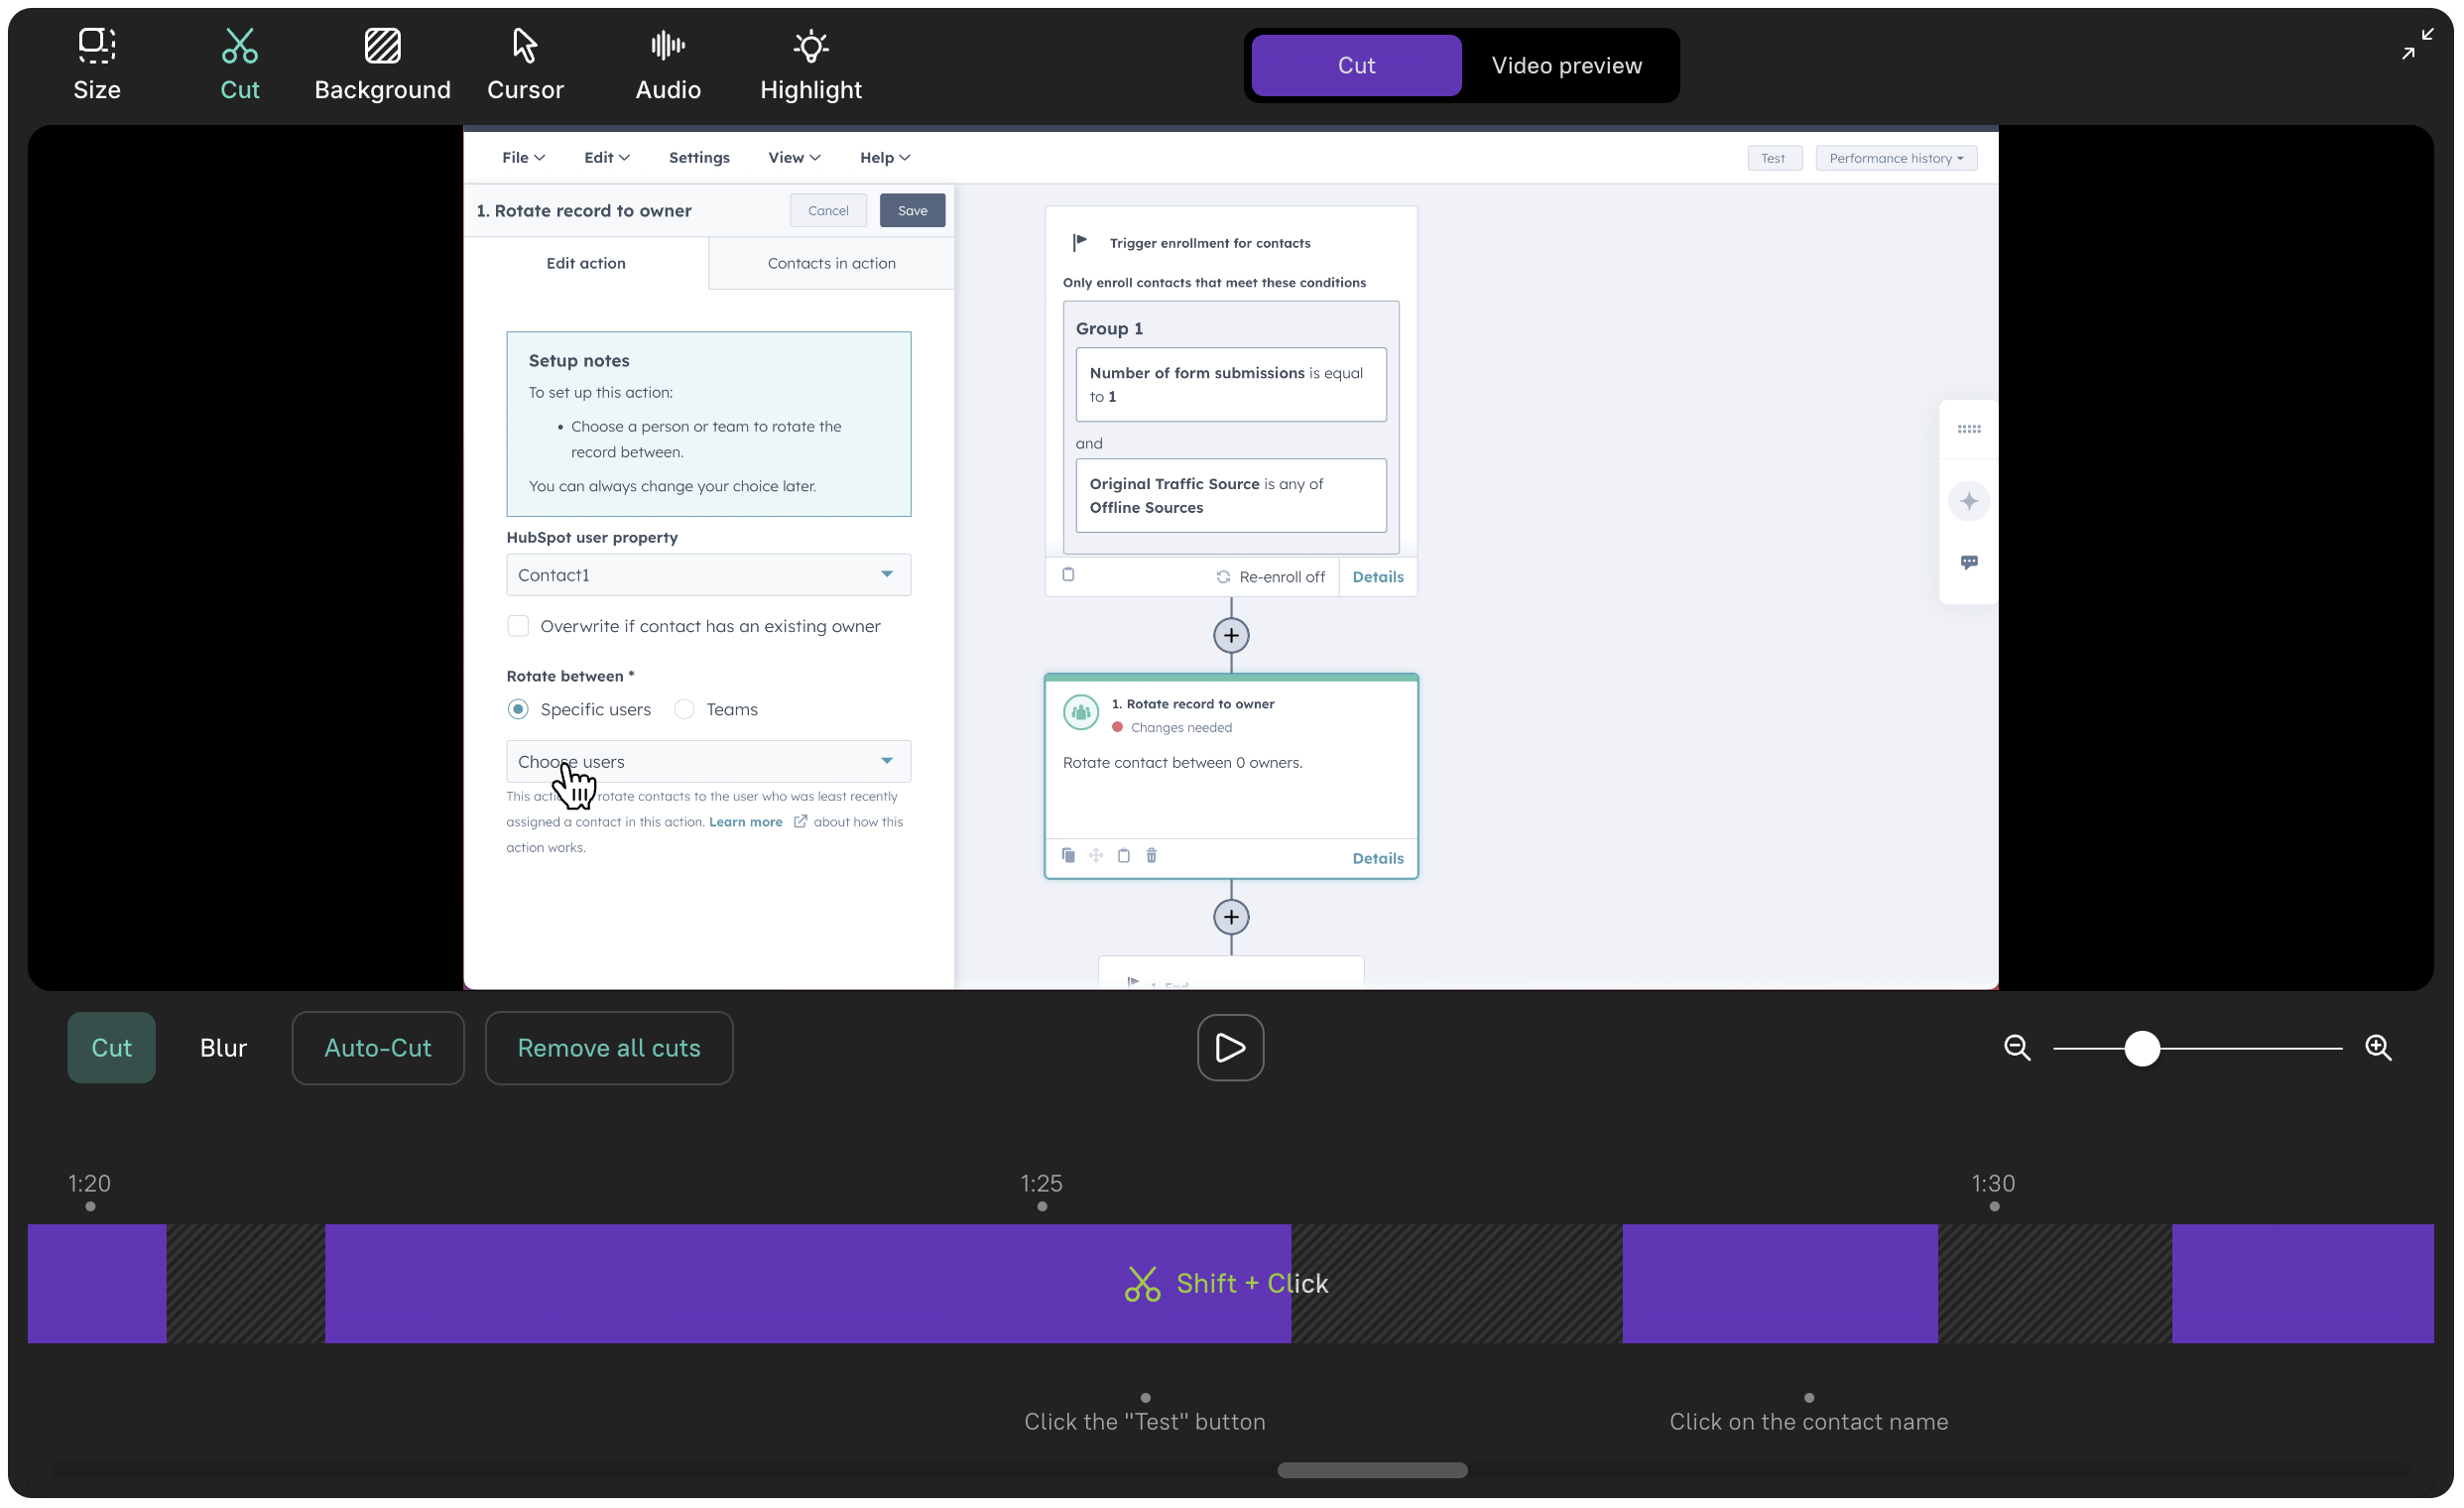
3. Remove or Trim Unwanted Segments
- Position your cursor at the starting point of the segment you want to remove.
- Press
Shift + Clickto mark the beginning of the cut. - Adjust the boundaries of the cut area as needed by dragging the edges.
Note: You can repeat these actions to remove multiple segments if necessary.
4. Preview Your Edits
- Press
SPACE(or use the play button) on the timeline to see how your video looks with the unwanted section removed.
5. Complete the Edit
- Your changes are automatically saved.
- Exit the Cut Tool or click on Video Preview to finalize your changes.
Smart Auto-Cut
Use Auto-Cut to instantly remove pauses, loading screens etc. from your recording and create a smoother, more natural flow. This feature automatically analyzes your video and trims out sections where the mouse is idle, eliminating dead space. For best results, start by applying Auto-Cut, then fine-tune your recording with manual cuts for full control.